SOFTAYO · BUYING GUIDE
How to darken a rental without drilling
Compare the no-drill options for a rented room, measure before you buy, and know what the adhesive leaves behind.
Start with what you are allowed to change
A rental agreement usually says something about fixtures, adhesives and making good at the end of the tenancy. Read it, or ask the property manager, before attaching anything to a wall, frame or glass. Removing a product does not automatically restore a surface: adhesive can leave residue or lift paint, and film can leave marks on glass. If your agreement is unclear, get the answer in writing first.
Compare the no-drill options honestly
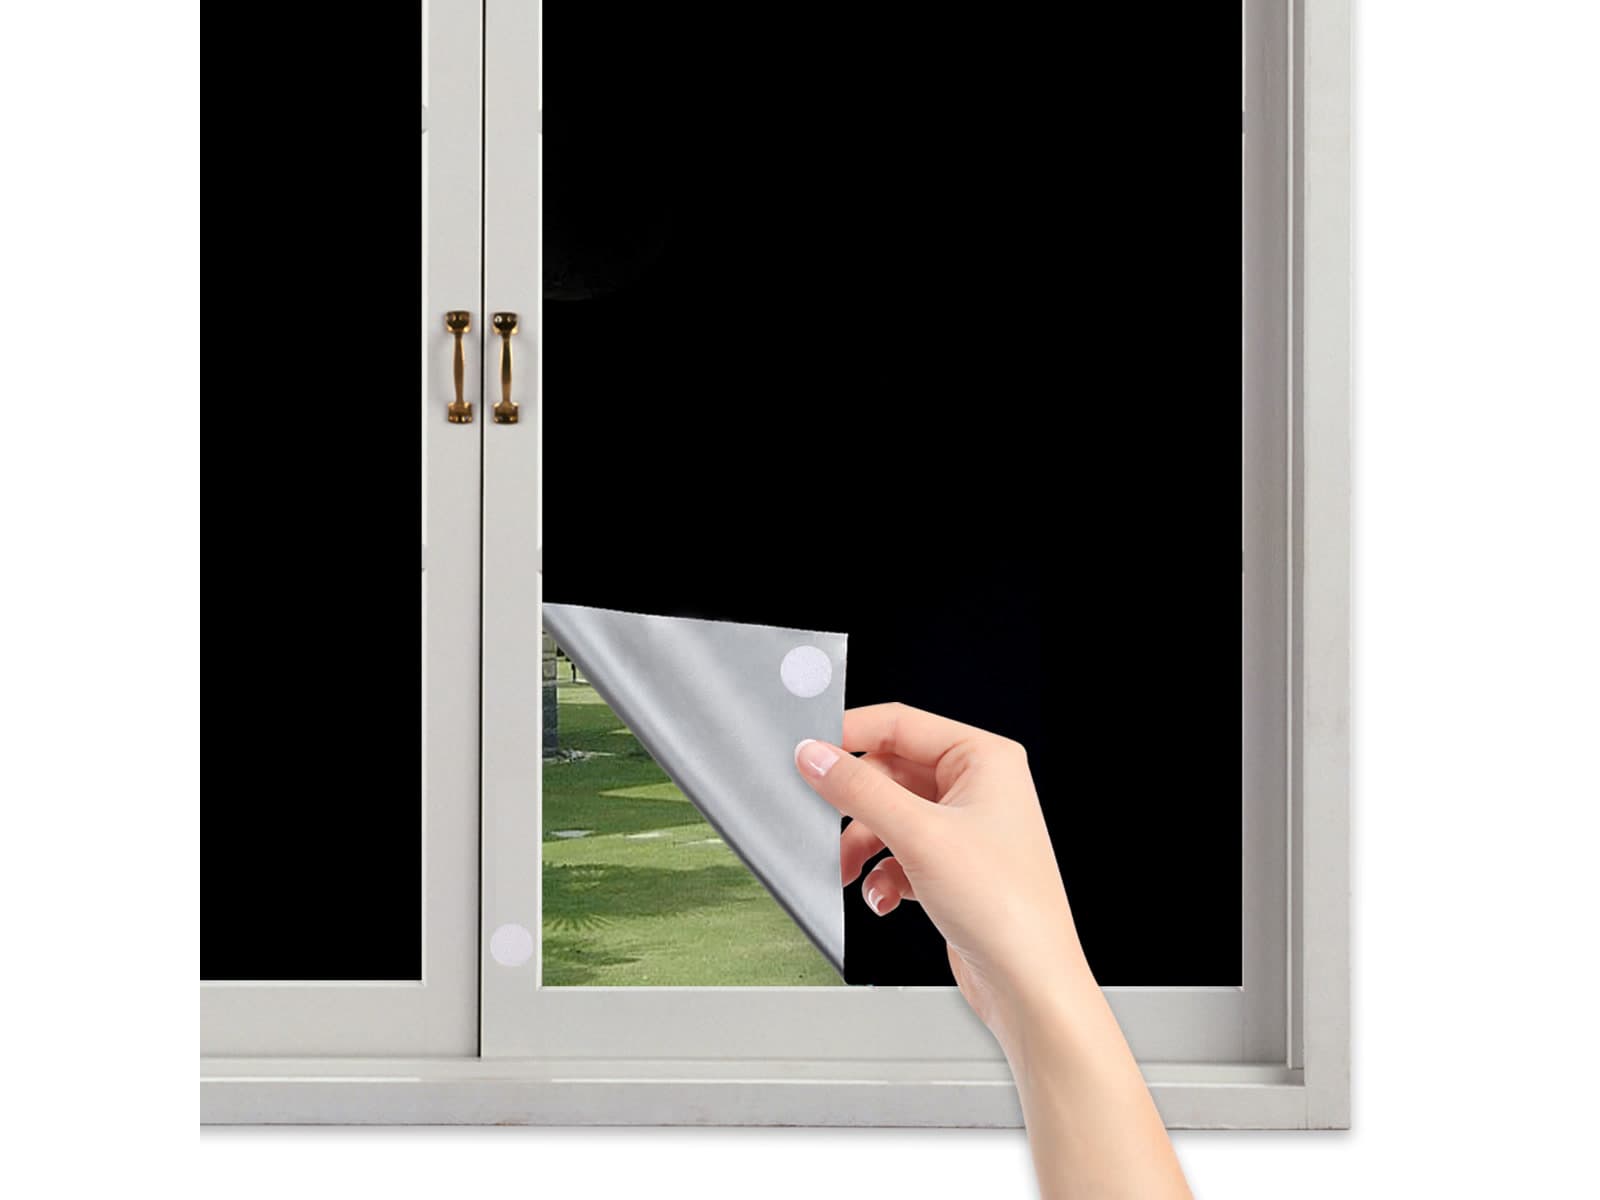
A tension rod needs two opposing surfaces and a curtain that hangs from it. A fitted blind or curtain track normally needs mounting points, so it is usually out for a renter. Adhesive window film sticks to the glass itself and is cut per pane. A fabric cover held on with removable adhesive fasteners is a third option: nothing is drilled, the fabric is cut to the window, and the fabric lifts off the fastener faces. Each option trades off differently on light gaps, cost, removal marks and how much of the window you lose.
Measure the window, then measure the fixing area
Measure the full area you want covered, width and height separately, then look for where a fastener can actually sit: frame face, wall around the reveal, or glass. Handles, hinges, a sloping sill, curtains already fitted and nearby vents all reduce usable space. A cover that only reaches the glass leaves light coming around the edges.
Plan the overlap and the edges before cutting
Light tends to enter at the edges, not through the middle. Decide how much overlap you want beyond the opening on each side, and check that the piece you plan to cut still fits the material you bought. Cutting is permanent. Mark the cut on paper first and take a second measurement before any scissors touch the fabric.
Check the surface, then test one dot
Clean, dry, sound surfaces hold adhesive better. Flaking paint, recently painted walls, textured finishes, wallpaper and some plastics are poor candidates. Test a single fastener in a hidden corner, leave it for a day, then remove it and look at what it took with it. If the surface marks easily, do not continue.
Remove it the way you installed it, slowly
Separate the fabric from the fastener faces rather than pulling the adhesive dot off the wall. Warmth and slow, steady pressure usually help. If a dot must come off, work it gently from the edge. Budget time for making good: filling a small patch of lifted paint is normal wear-and-tear territory but can still cost you a bond dispute if it is left.
Expect an honest limit on darkness
No window covering sold as "blockout" is required to publish a measured figure, and fit quality changes the result more than the fabric does. Treat every product photograph as a demonstration, not a guarantee for your particular window. If a room needs to be consistently dark at a specific time, test the setup at that time of day before you rely on it.
View the portable blackout kit →
More practical guides
- How to measure a window for a cut-to-fit blackout cover
- How to adjust a wraparound sleep mask
- Reusable earplugs: check the tips, fit and contents
- Darkening a nursery in a rental: what you can and cannot change
- Blacking out an awning or sliding window
- Will a 47 × 30 cm drying rack fit your sink?
Prepared by Softayo · 1 November 2026. Based on the current listed product and use information, not an independent performance test.